How’d They Do That?: Facebook Frames
Step One: Log into facebook and see that your friend, Jane, has a fancy-schmancy frame on her profile photo for the school she teaches at. Get jealous.

Step Two: Contact Jane via Facebook Messenger to express jealousy and a desire to learn. Luckily, Jane responds with a link and simple directions, “Needs to be done on a computer.”
Step Three: Turn on my computer. Log into facebook. Click the link Jane sent: https://developers.facebook.com/products/camera-effects/frame-studio/ and be AMAZED.
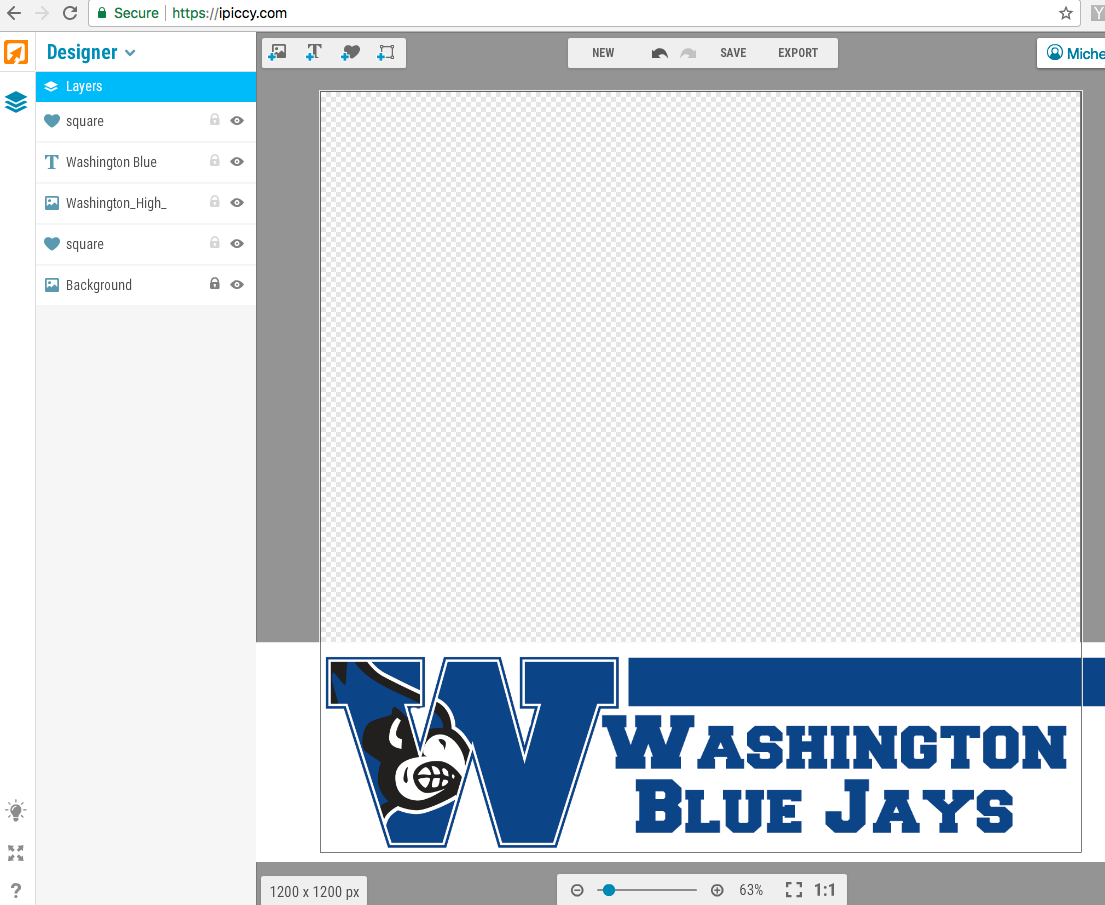
Step Four: Play around on www.ipiccy.com to create a PNG frame for my school.

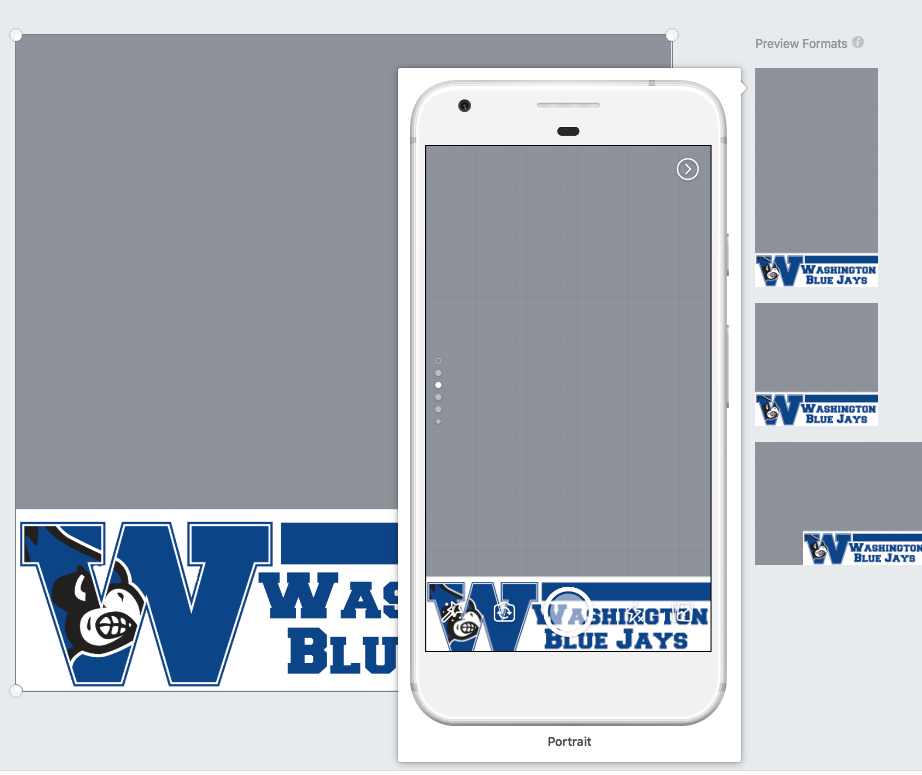
Step Five: Upload and preview the PNG frame via the link Jane sent.

Step Six: Preview, submit, and wait! The message I get says, “Review is typically 1-3 days but it may take up to a week.”
Step Seven: Cross fingers (figuratively not literally) that this works!
Step Eight: After waiting more than three days, I log into Facebook Frame Creator and see that it’s still under review.
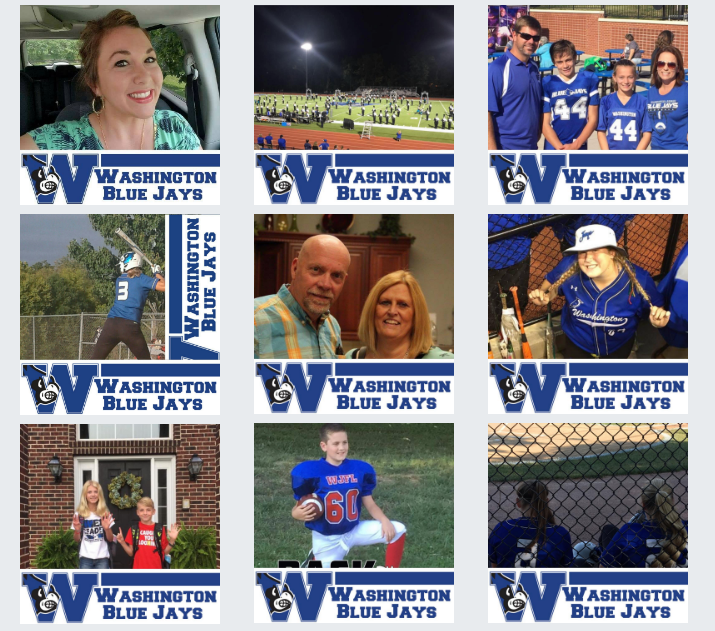
Step Nine: After five days, the frame is approved. I am able to use it as my profile photo. To encourage others to use it, put the directions on BJJTV facebook page and email them district wide to all employees of our school.

Step Ten: No longer jealous of Jane, feel excited that this old dog has indeed learned a new trick. Decide to share newfound knowledge with students and other teachers from all around the globe thanks to SchoolJournalism.org. Enjoy!


M.T. • Feb 11, 2018 at 7:52 pm
You are very welcome. I hope it was helpful!
Helen • Sep 25, 2017 at 10:10 am
THANK YOU for the answer to my question!